How to Set Up Sales Approvals in Microsoft Dynamics NAV 2016
In our coffee mug business we are ever expanding and ever requiring new things to do with our NAV system. Fortunately NAV is extremely flexible and has a lot of features and one of them we need today.
This one is called Approvals. It’s very common for a lot of businesses to have an approval process in place, especially on the sales orders and so in this case we are actually going to show you how a sales order approval would function.
What I’m going to do first is show you the process from a user perspective once it has been set up and then I will highlight the set ups that need to be done – not going in detail in those because there are a lot of options but it’s fairly easy to set up many standard ones out of the box.
Quick Set Up
Ok so first of all just a little bit on the set up first.
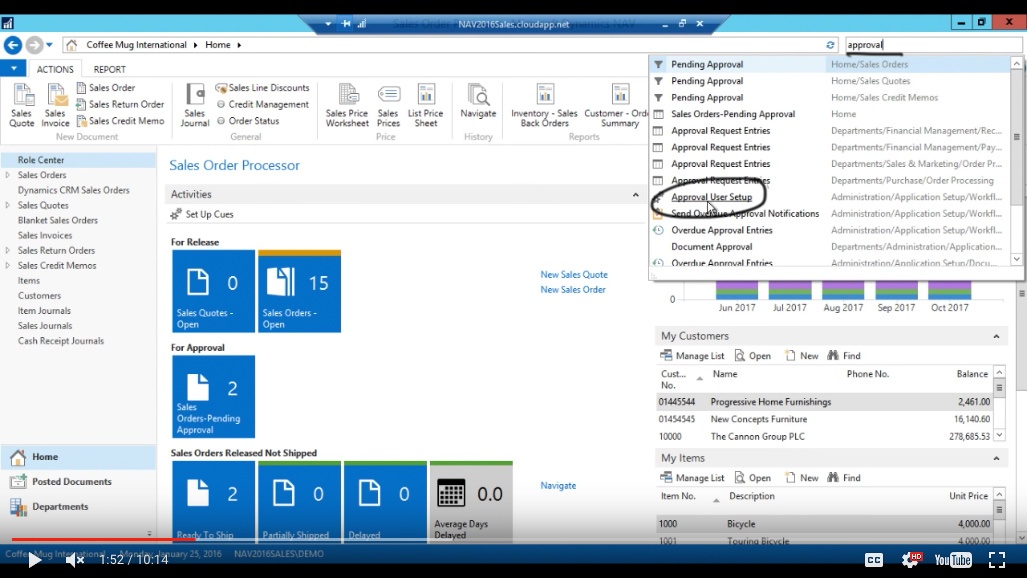
If I go into the Approval – Approval User Setup right here.
(Click image to view larger version)
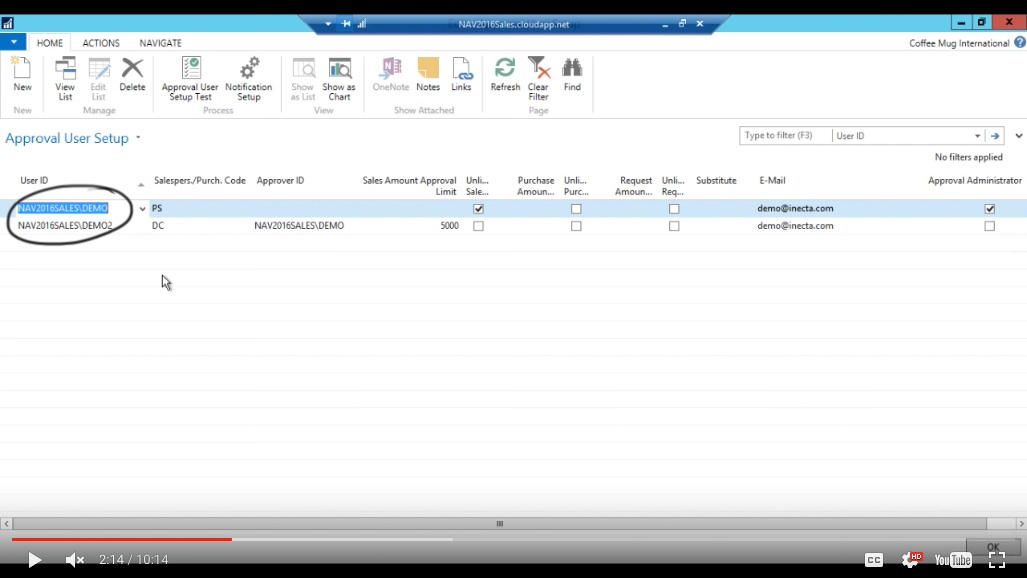
Here this table will actually set up the users that are involved in the approval process and what I have now done as I stated before is we have these 2 users Demo and Demo 2. I don’t get to use my own name here, I have to be called Demo – that’s fine.
(Click image to view larger version)
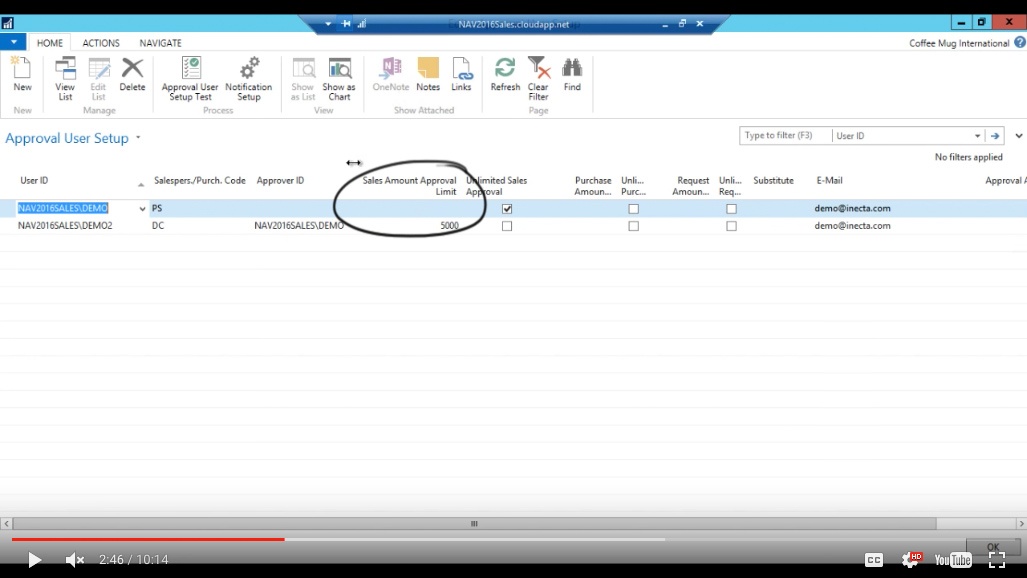
And so basically Demo 1 or Demo without anything has unlimited sales approval. Right here just open that up and Demo 2 has Demo as the approver and we have given Demo 2 $5000 approval limit so Demo 2 can approve up to $5000.
(Click image to view larger version)
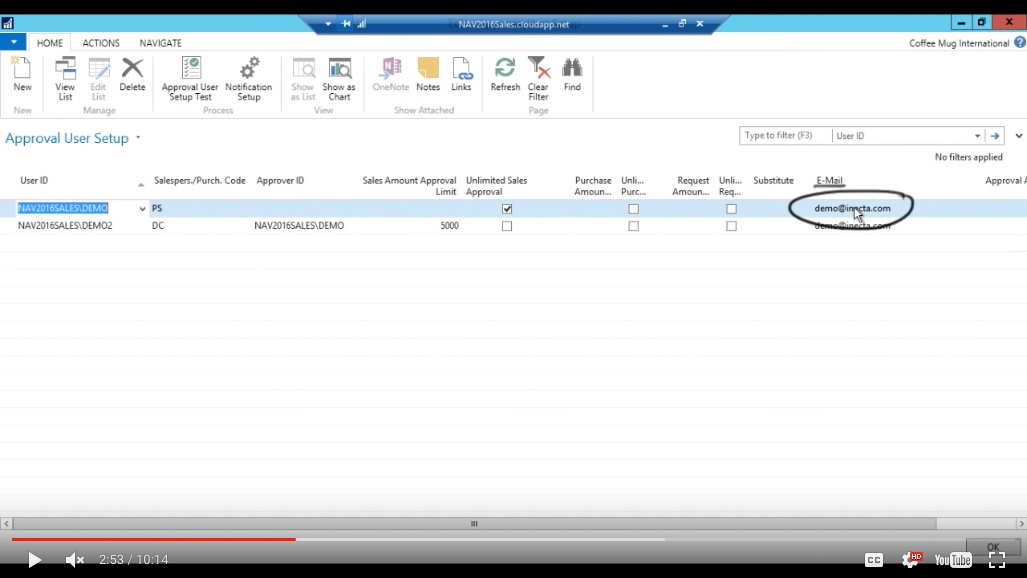
But after that the system will look for an approver (which is Demo) and send an approval to Demo. And that should come to this email address over here.
(Click image to view larger version)
Testing Approval
Ok so let’s test this out. I actually need to log in as Demo 2 in order to demonstrate this. So I’m going to close out.
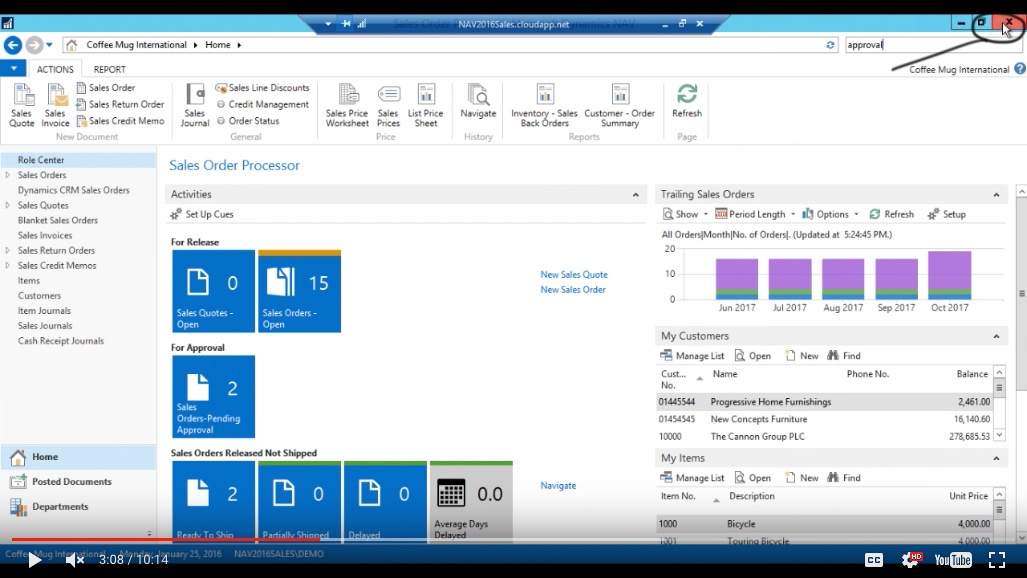
(Click image to view larger version)
Close this out too, this all of my NAV instances.
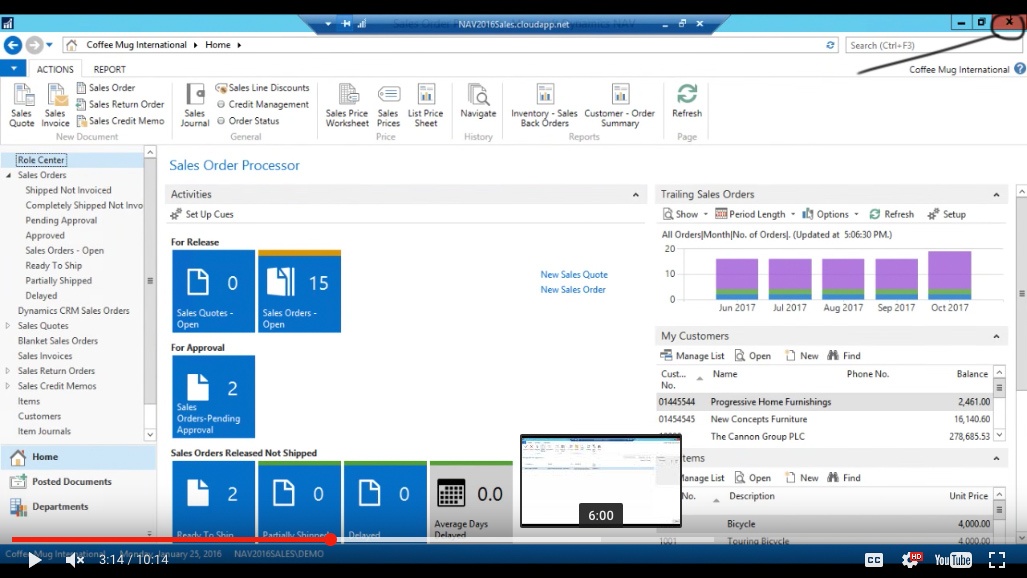
(Click image to view larger version)
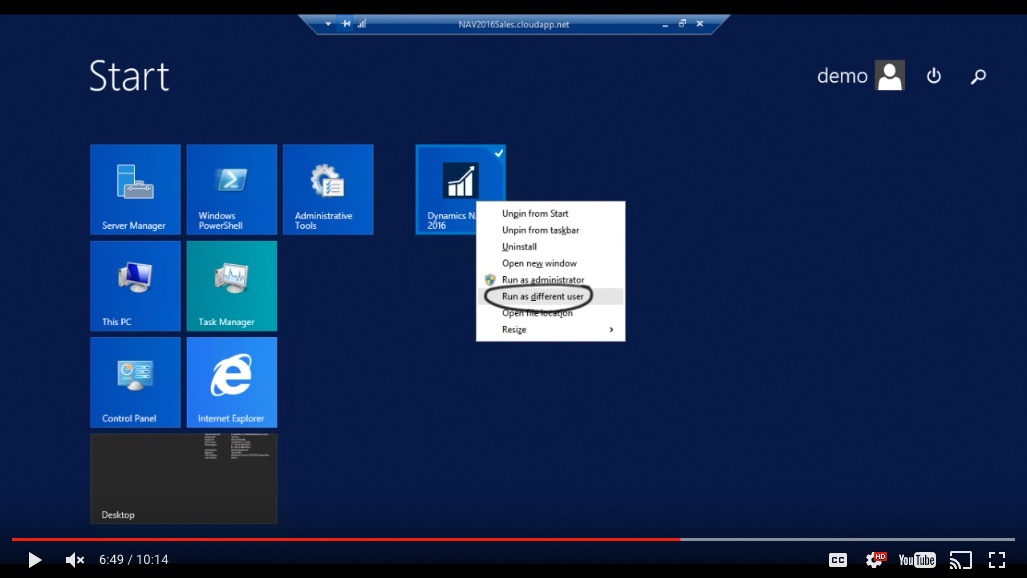
I go into my menu here and I might have used this before but I can right click and say Run As A Different User.
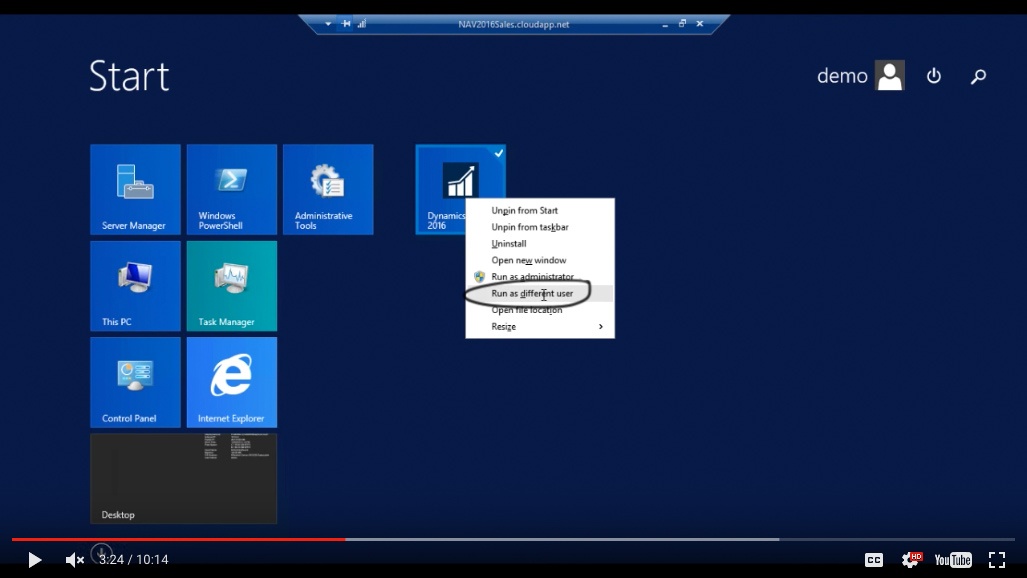
(Click image to view larger version)
Log-in as Approver
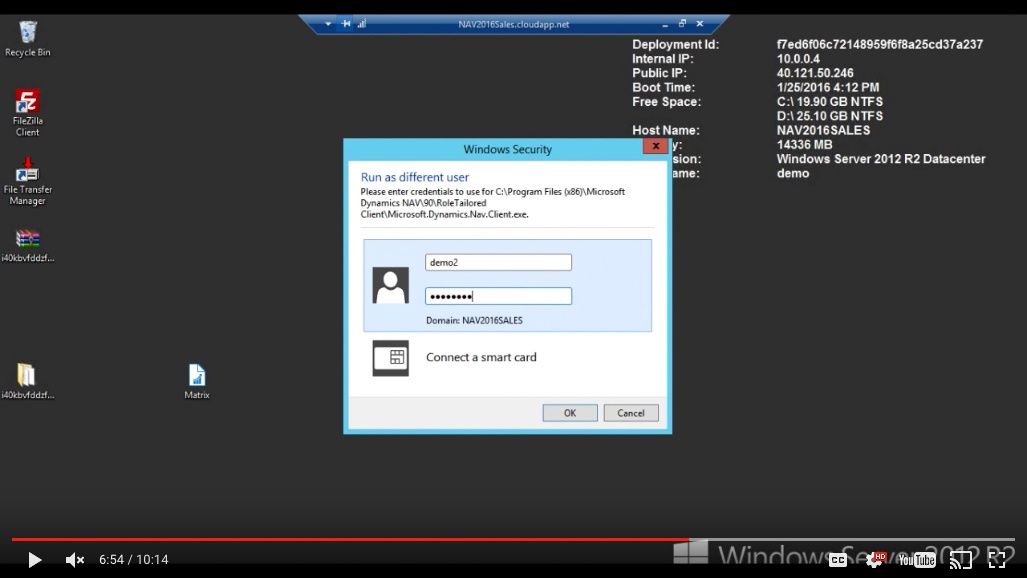
And I want to be 'Demo 2' and let’s see if I can get in.
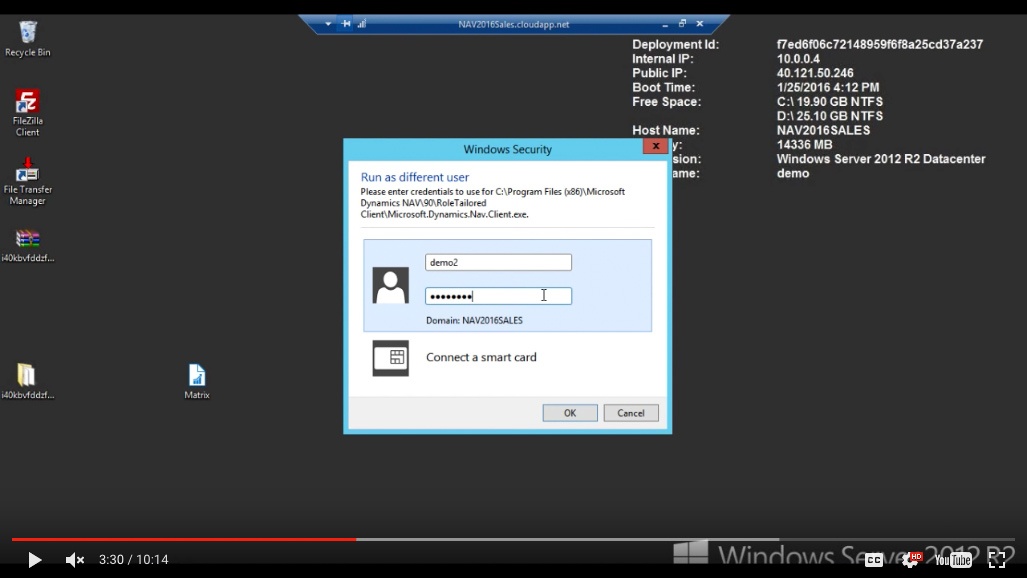
(Click image to view larger version)
Yes ok. So I’m in here as 'Demo 2'.
Create a New Sales Order
Now I want to go to my Sales Orders.
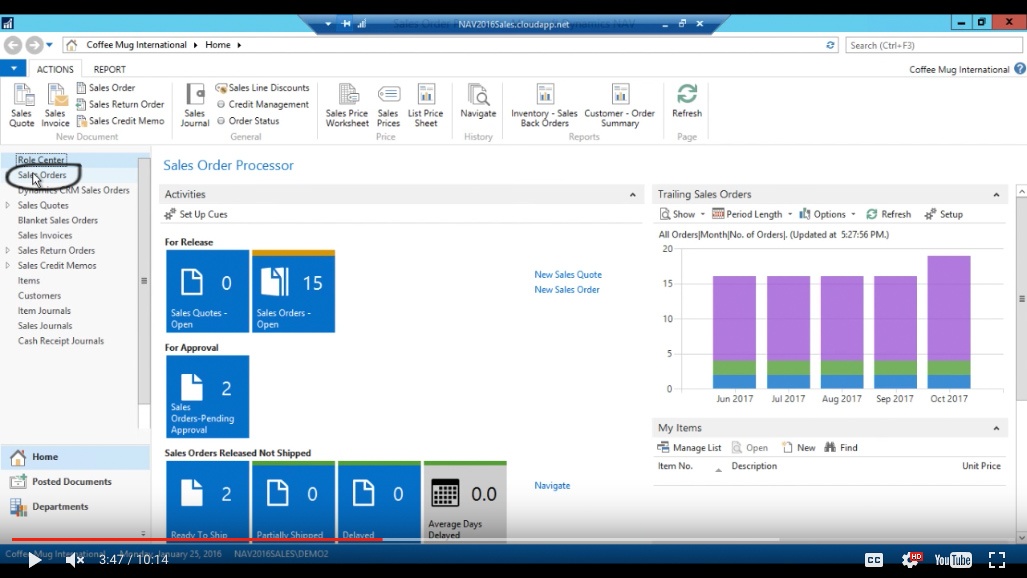
(Click image to view larger version)
And create a new Sales Order.
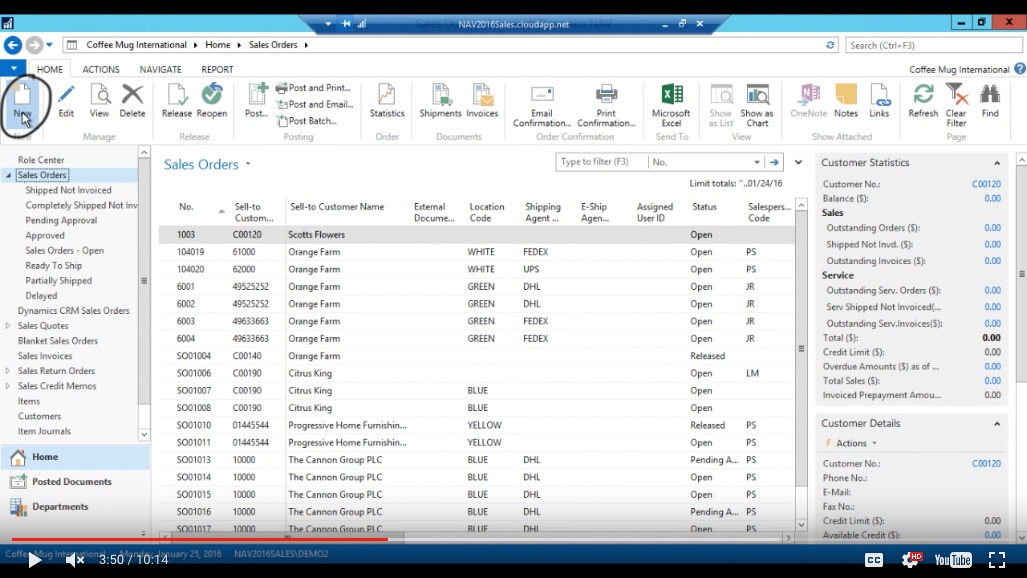
(Click image to view larger version)
And again we are going to sell The Cannon Group.
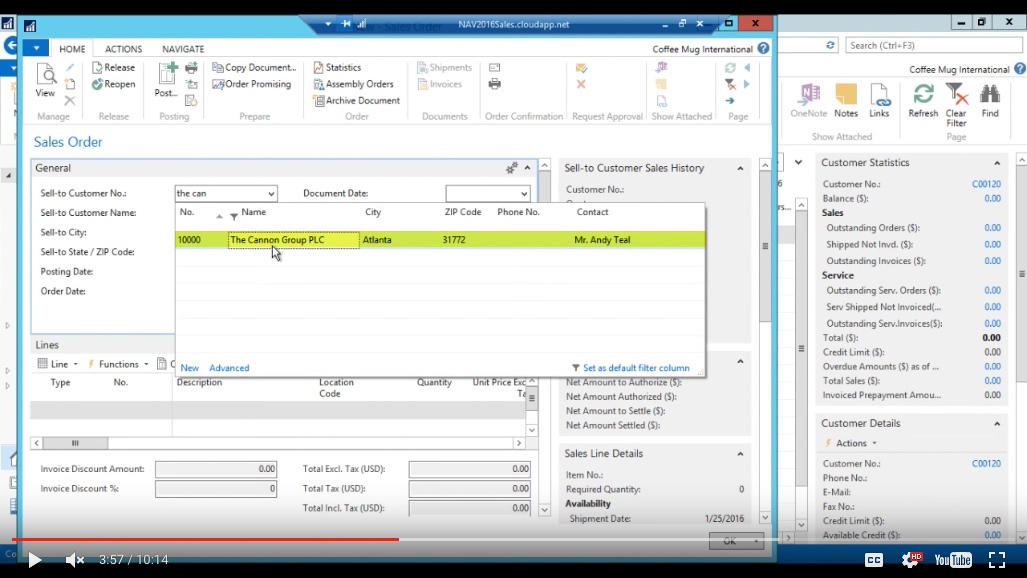
(Click image to view larger version)
They are a really big client and have not paid their bills for a long time.
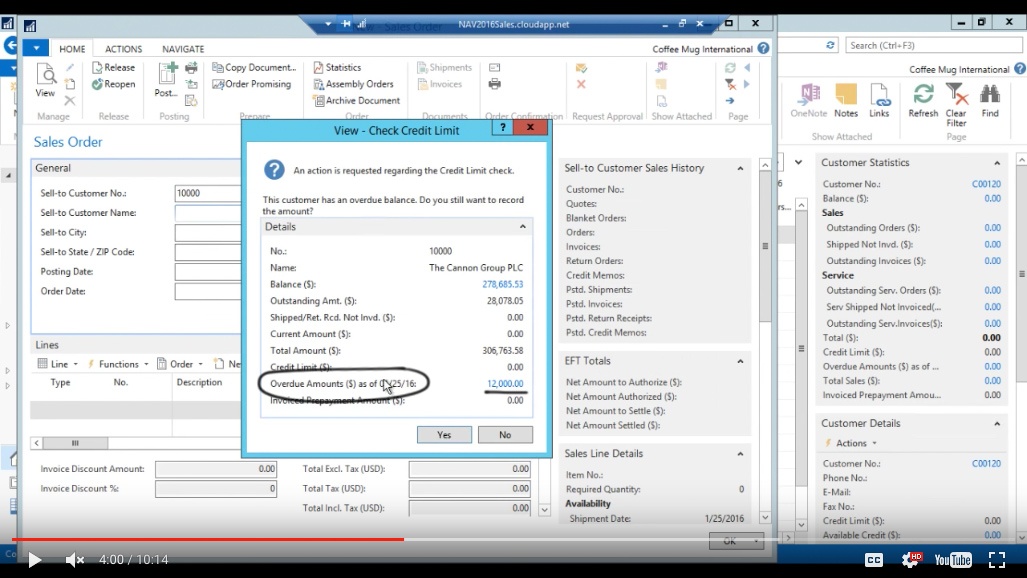
(Click image to view larger version)
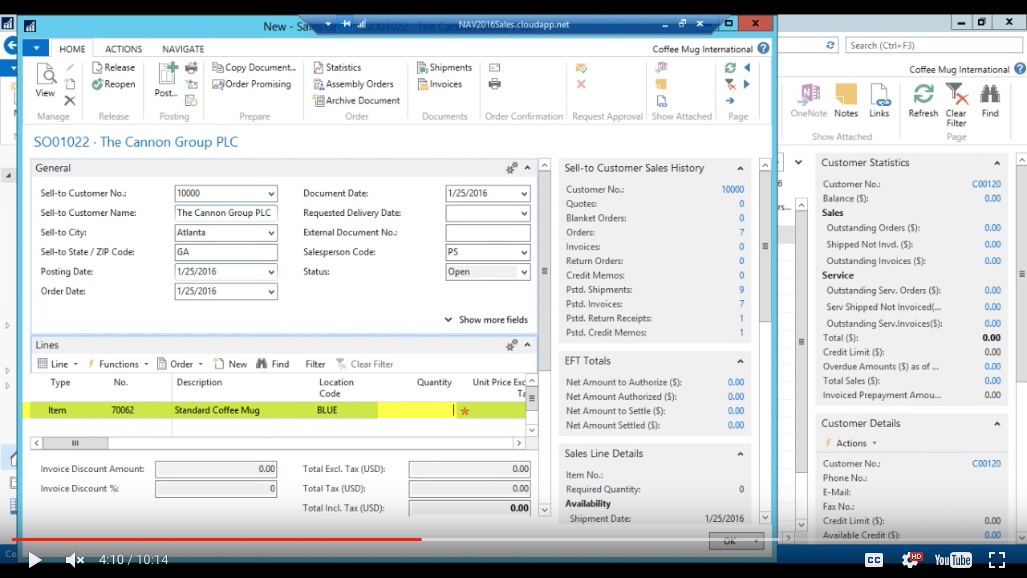
So also the standard coffee mug is going out to them.
(Click image to view larger version)
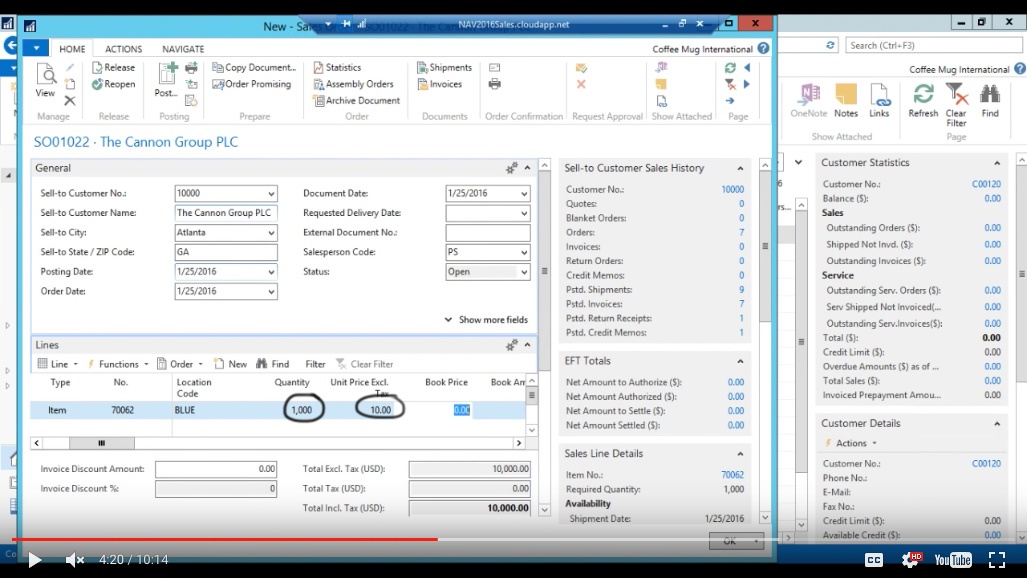
And we’re selling 1000, yes we don’t have it but that’s ok, for $10 each.
(Click image to view larger version)
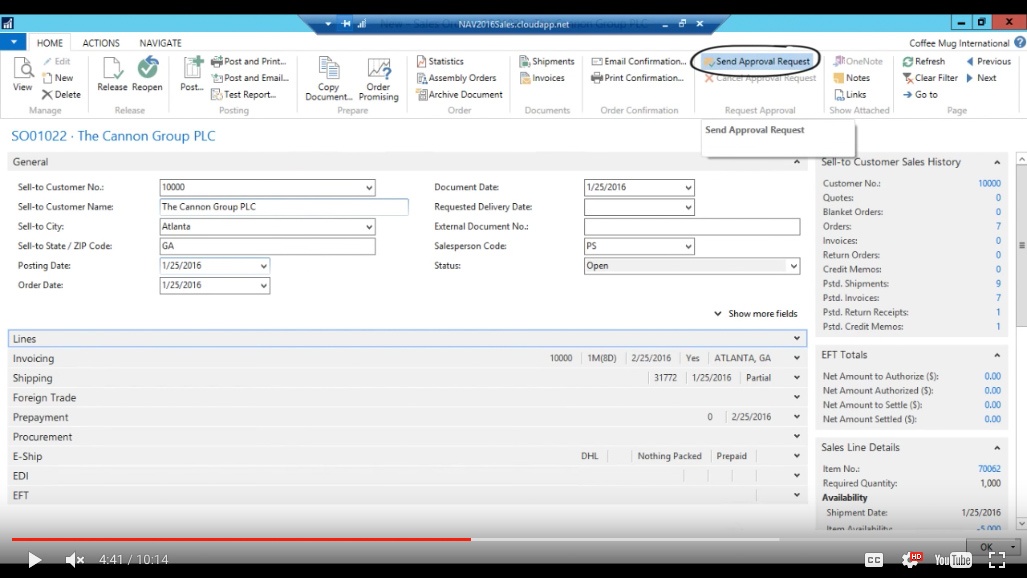
So right now we have $10,000 order going out and what I want to do is actually, let me see, is open this up and hit Send Approval Request.
(Click image to view larger version)
So an approval request has been sent and now it goes Pending Approval. Ok. Good enough.
Now I’m just going to wait for ‘Demo’ to approve this order so I can continue with posting it and shipping it.
So if I close this out all the way.

(Click image to view larger version)
Check Email for Approval
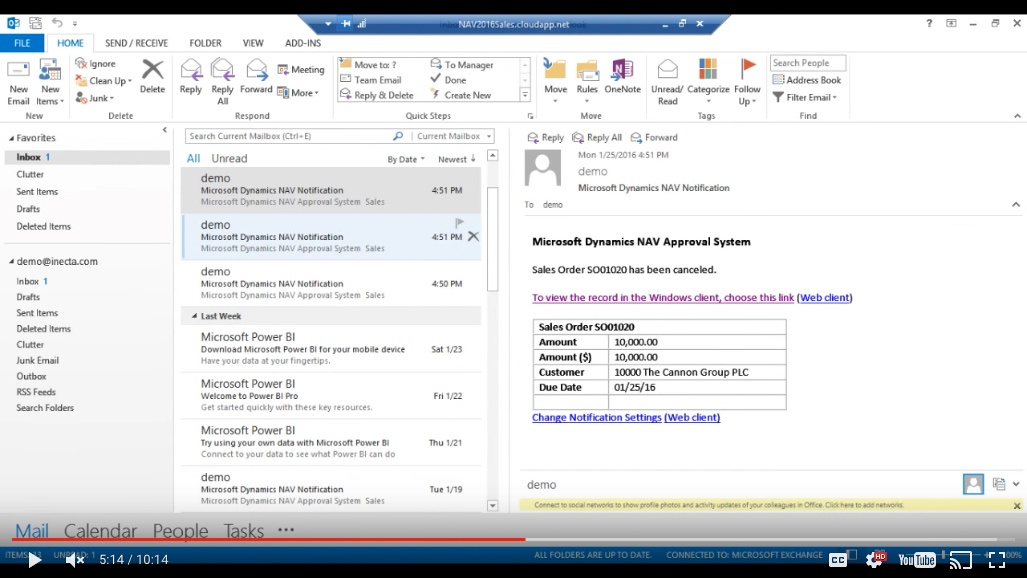
I can actually go into the email and this is the email for Demo and we should be getting an email soon.
(Click image to view larger version)
Yep there it is.
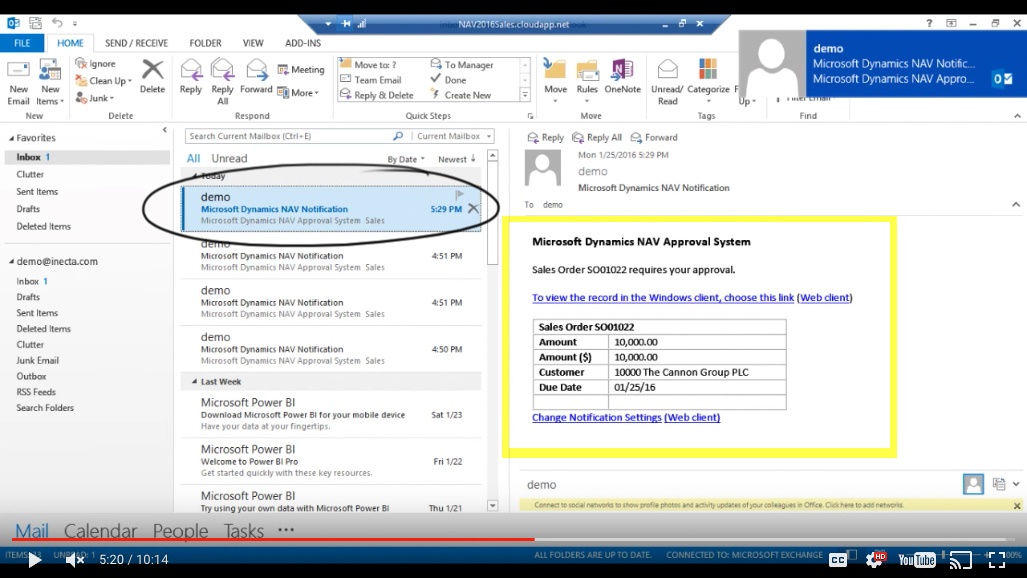
So there’s a notification that comes over, telling me that sales order number 1022 needs to be approved for The Cannon Group for $10,000.
(Click image to view larger version)
So this comes into the email box for Demo. I can click here to actually open up NAV to view this order as Demo this case.

(Click image to view larger version)
View the Order
It opens up and we go straight into this.

(Click image to view larger version)
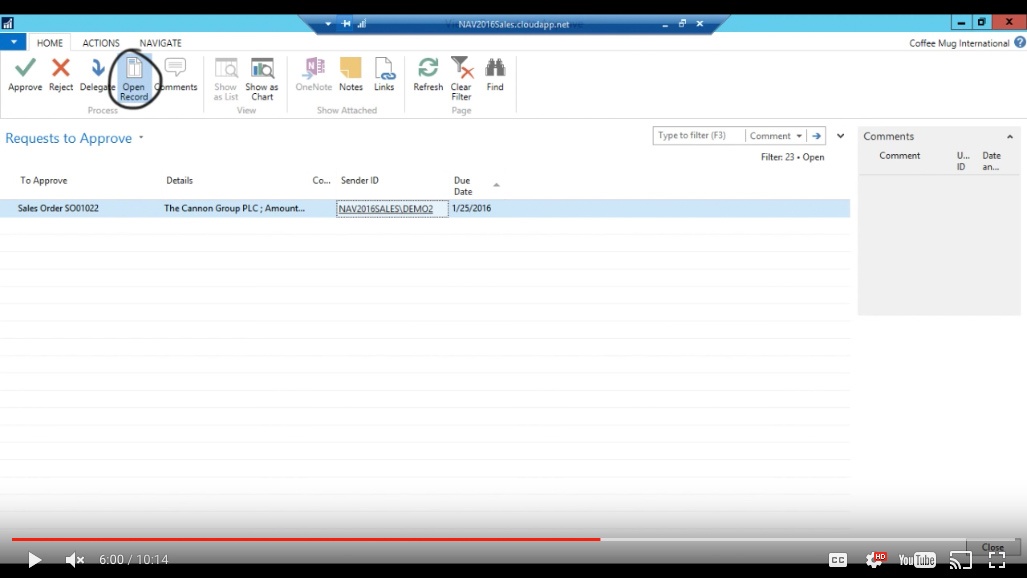
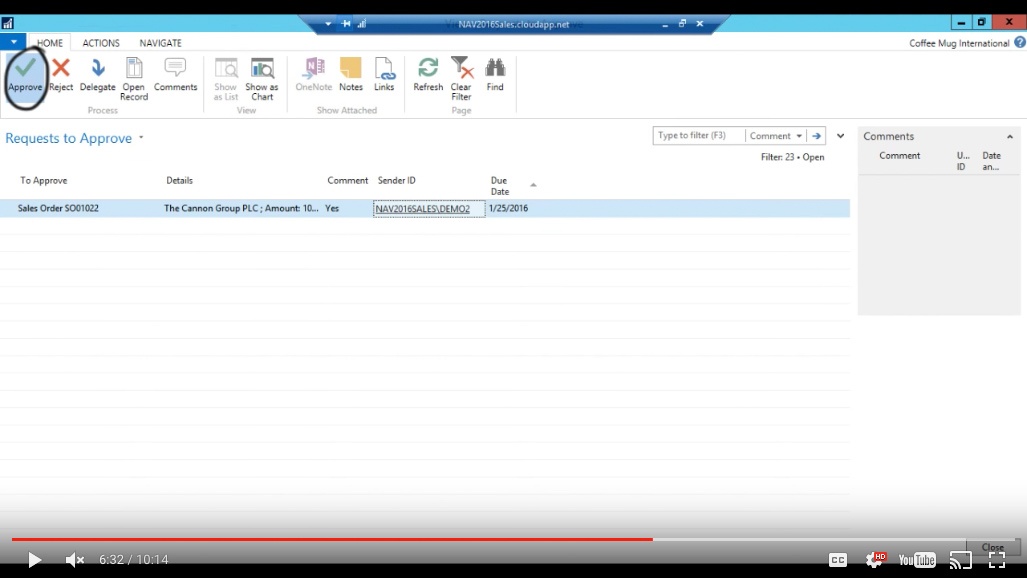
Now I can go ahead and say ok ‘Demo 2’ is sending this to me I can open the record.
(Click image to view larger version)
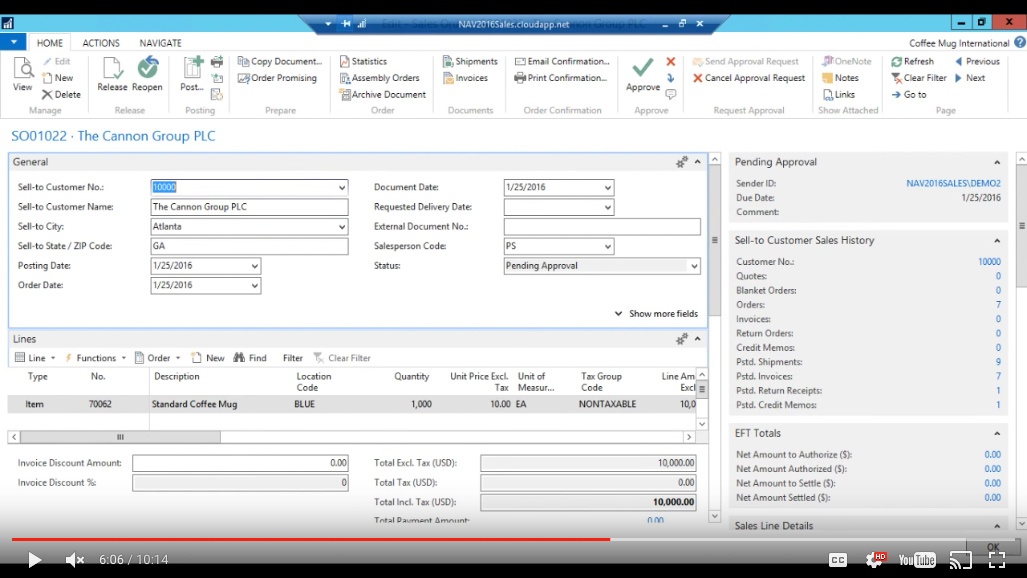
And take a look at the order, ok it looks fine.
(Click image to view larger version)
We know they are going to pay and everything is good with the product.
Add a Comment to the Approval
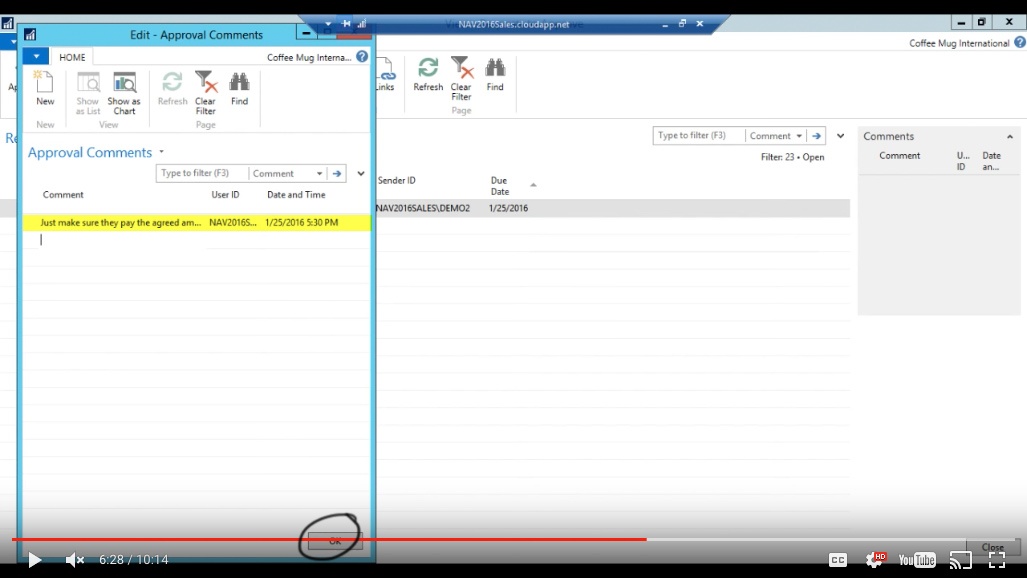
So I can go ahead and actually put a comment onto this.

(Click image to view larger version)
And say ‘Just make sure they pay the agreed amount’ and just hit Ok.
(Click image to view larger version)
Approve
And then I can go ahead and hit Approve. And now this has been approved.
(Click image to view larger version)
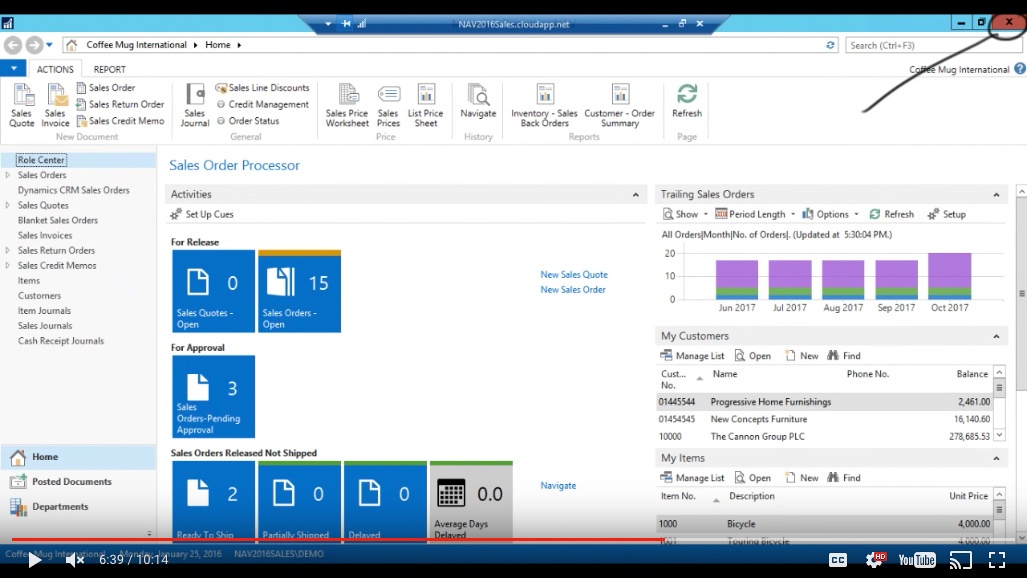
So I’m closing out again, wearing a lot of hats today.
(Click image to view larger version)
View Approval as Requester
Now I go in as 'Demo 2'.
(Click image to view larger version)
(Click image to view larger version)
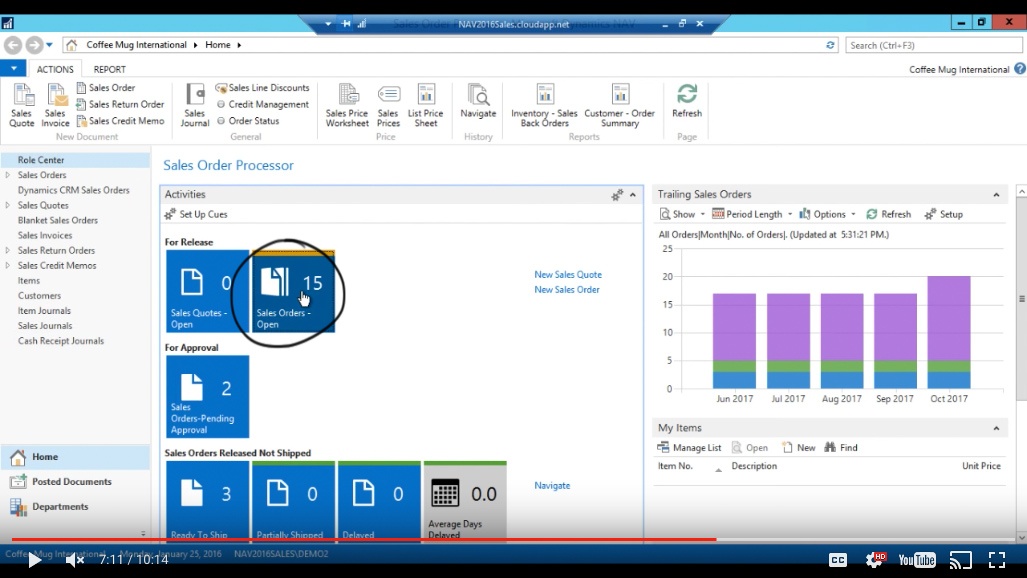
I can just go in to the last Sales Order and just go here.
(Click image to view larger version)
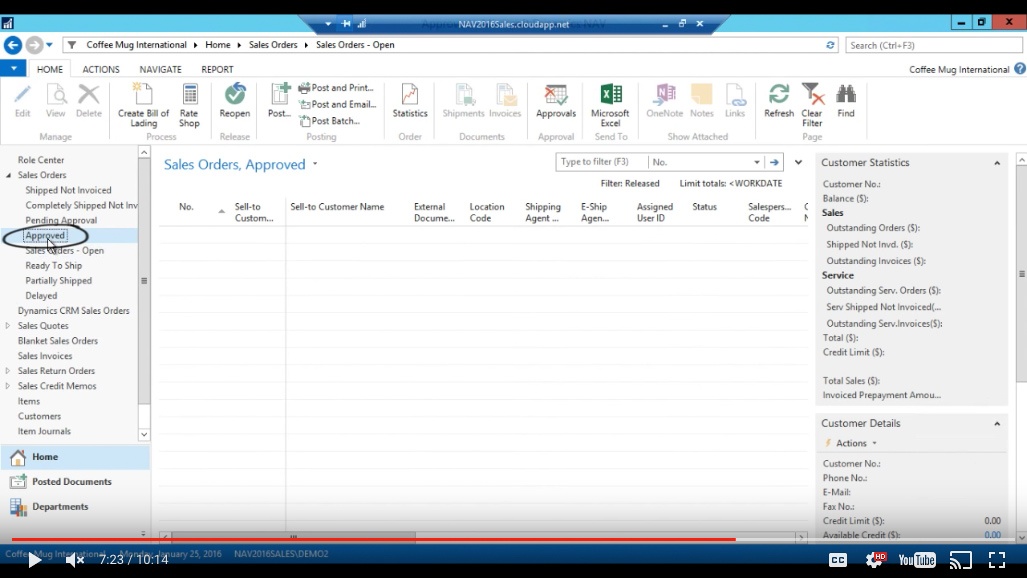
Actually this one would be released so let’s go into Approved.
(Click image to view larger version)
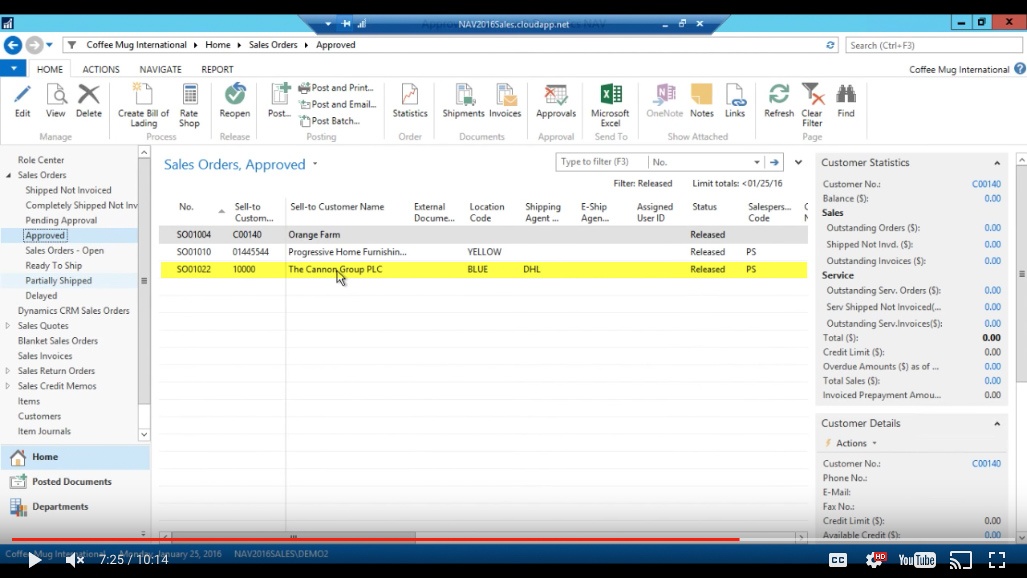
And there it is : Approved. So this one is then ready to ship out.
(Click image to view larger version)
Workflow
So there are a few things that went into setting this up and I’m quickly going to go over that without dragging this out too long, trying to keep the videos short.
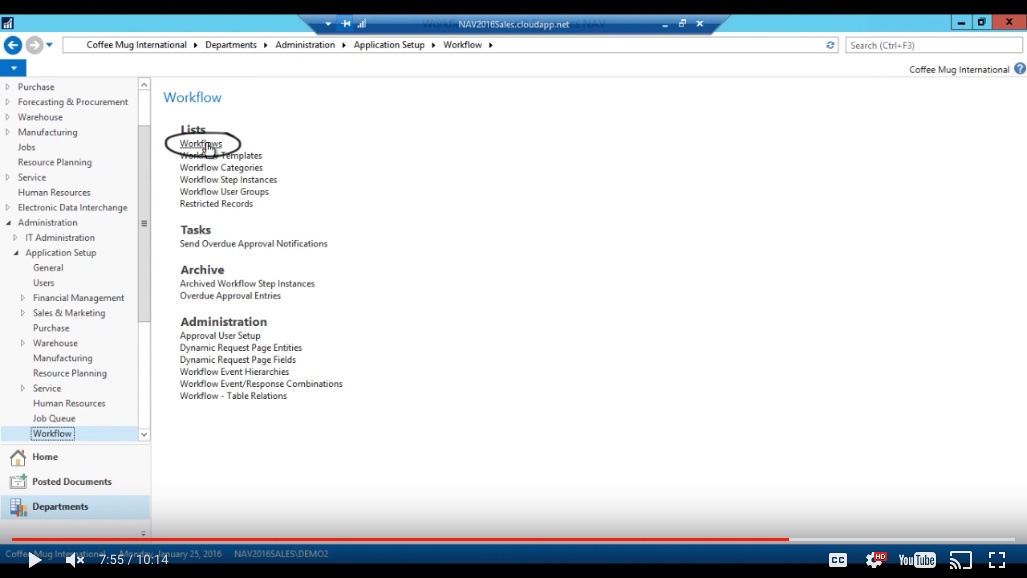
So one thing is the workflows.
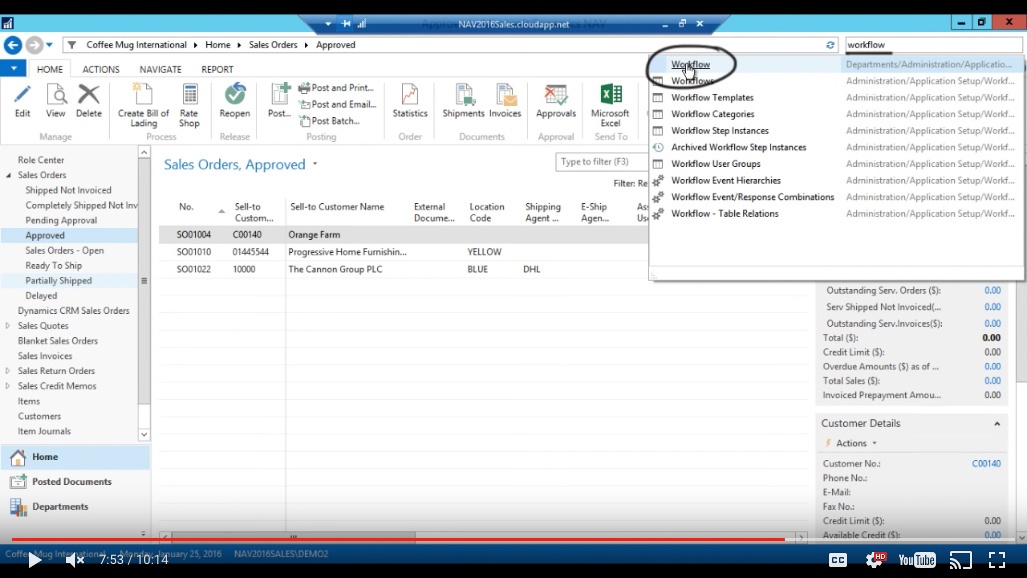
(Click image to view larger version)
So this contains a workflow and NAV ships with a lot of different workflows.
(Click image to view larger version)
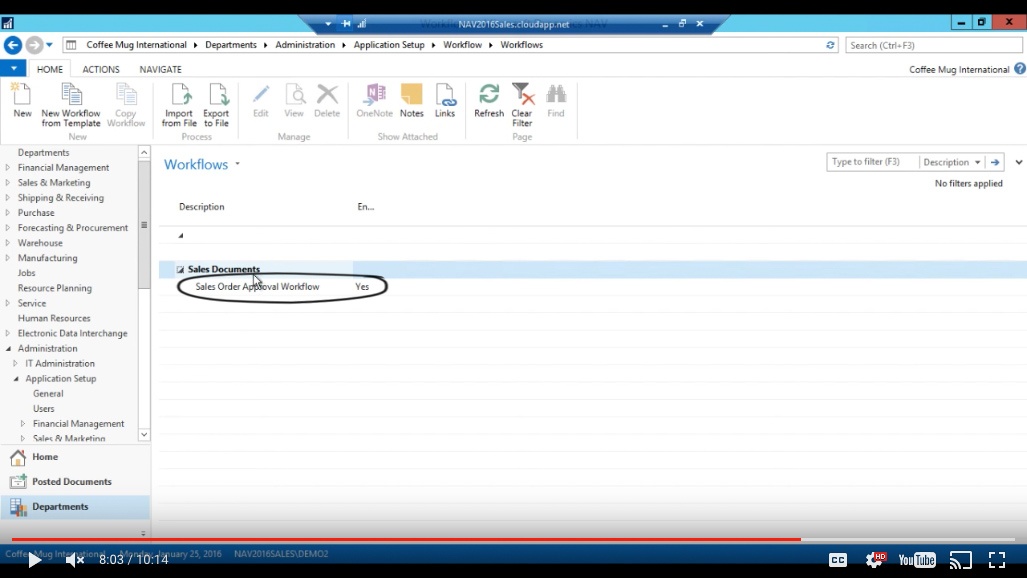
What I have enabled is just one workflow for sales documents: the sales order approval workflow.
(Click image to view larger version)
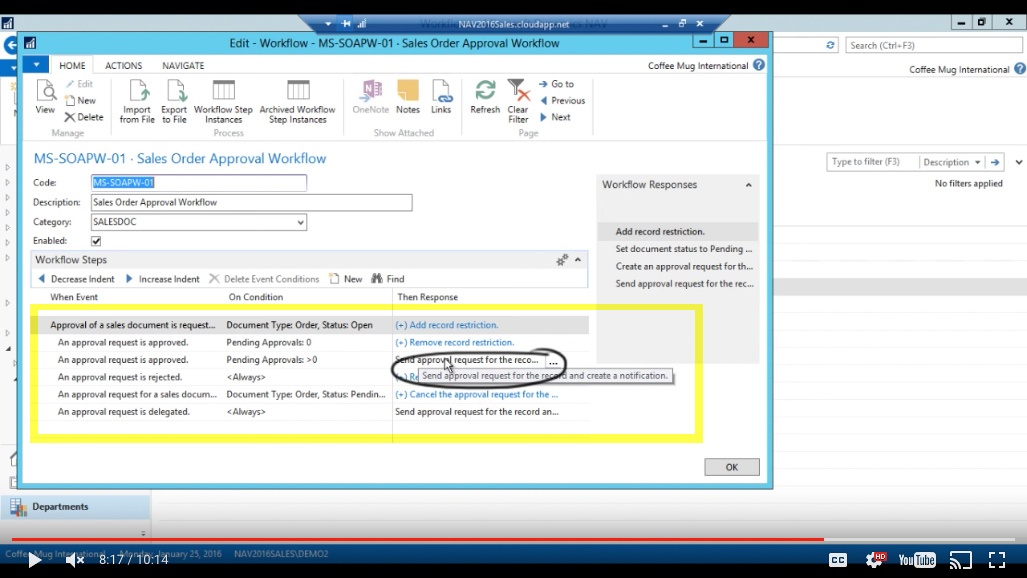
I’ve enabled this particular one. This comes with NAV already set up. You can configure it to do different things.

(Click image to view larger version)
One idea would be sending an email to the recipient when it’s approved etc. So you can add that to this fairly easily and this is so user configurable.
(Click image to view larger version)
Set up Notifications
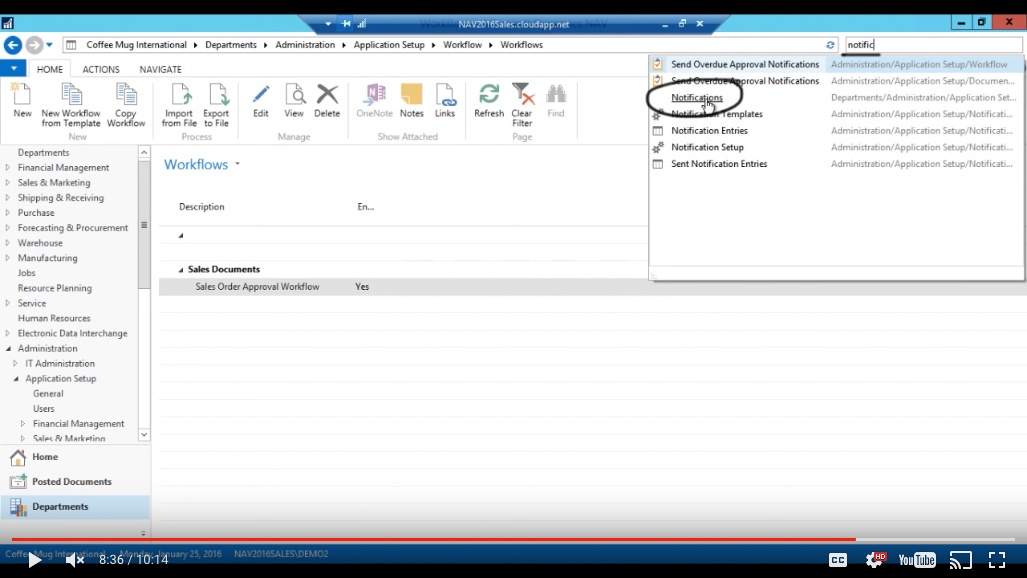
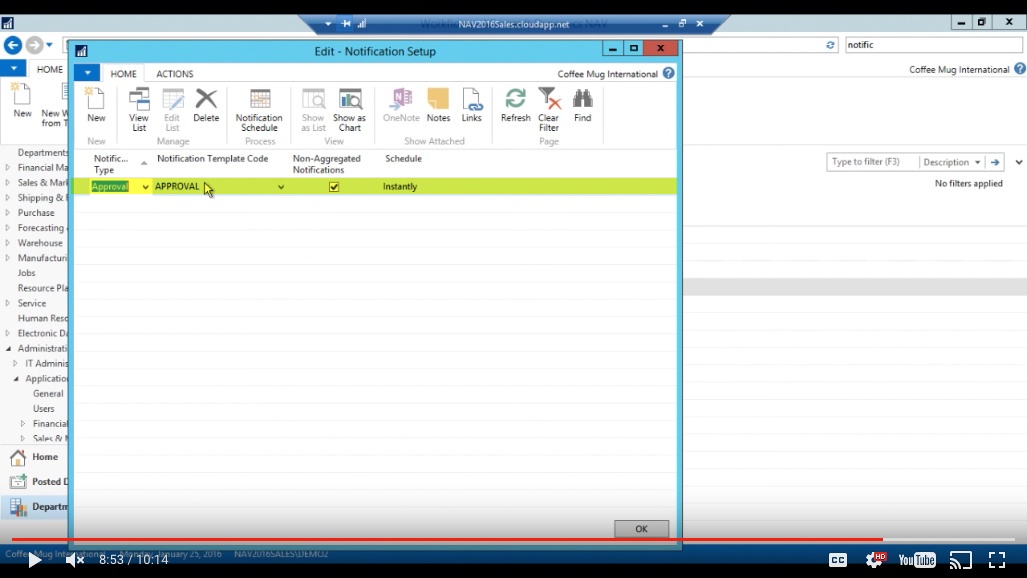
Also you need to set up notifications. Notification set up is here.
(Click image to view larger version)
Basically you set up a template, a notification template and you tell the system when to run it. In this case I have it set to run instantly.
(Click image to view larger version)
Meaning that it doesn’t bunch things up and send them overnight. Right away when you send for approval, the approval email goes out.
SMTP Email Set up
And finally what’s important in this is the SMTP set up.

(Click image to view larger version)
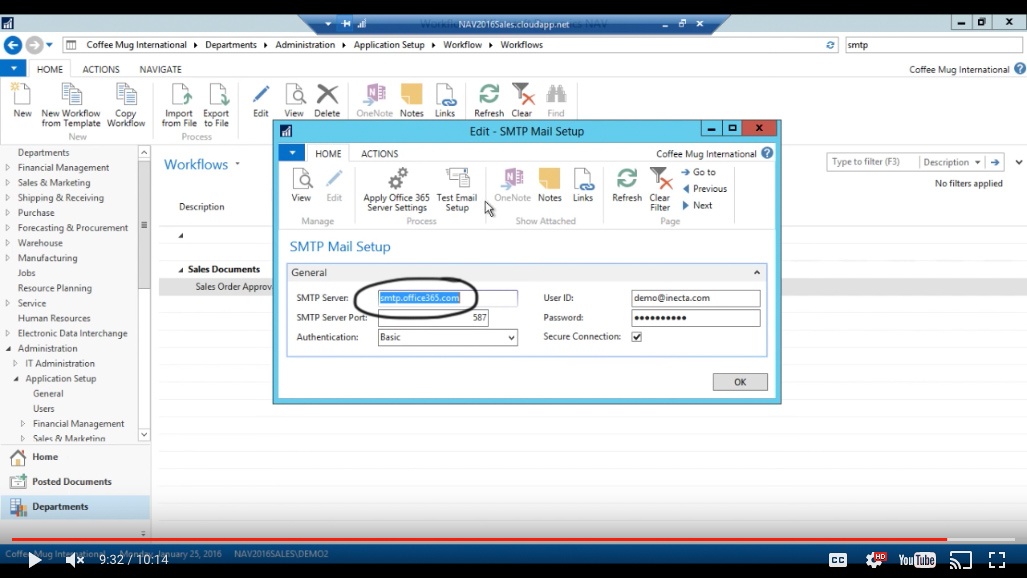
Now SMTP for those that don’t know what that is, it’s a send mail set up so there is a send mail protocol that needs to be set up or send mail service.
So we need to point to the Send Mail Server. In this case we use Office 365.
(Click image to view larger version)
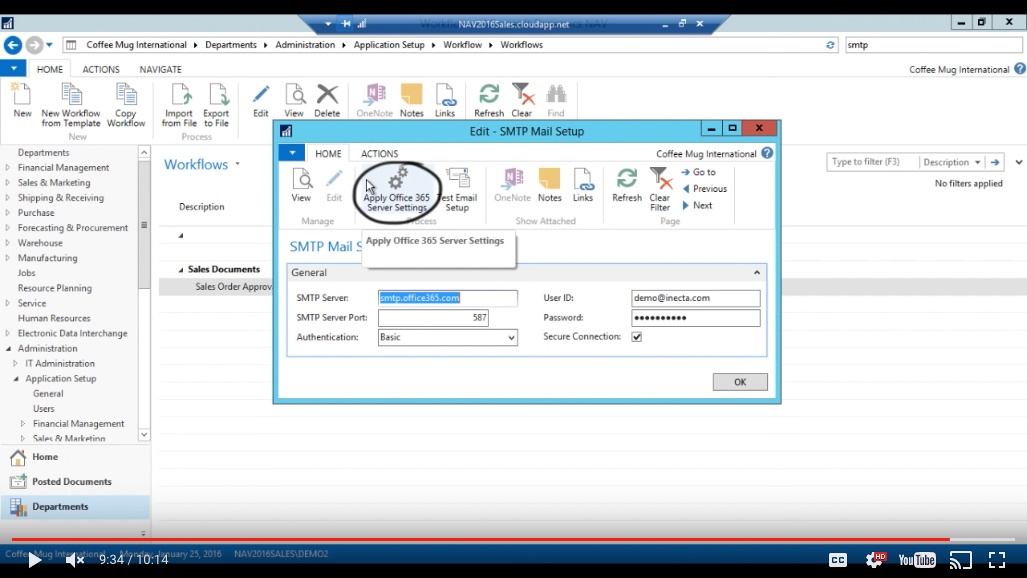
And you can actually apply the Office 365 Server settings here so you don’t really have to figure out the port etc.
(Click image to view larger version)
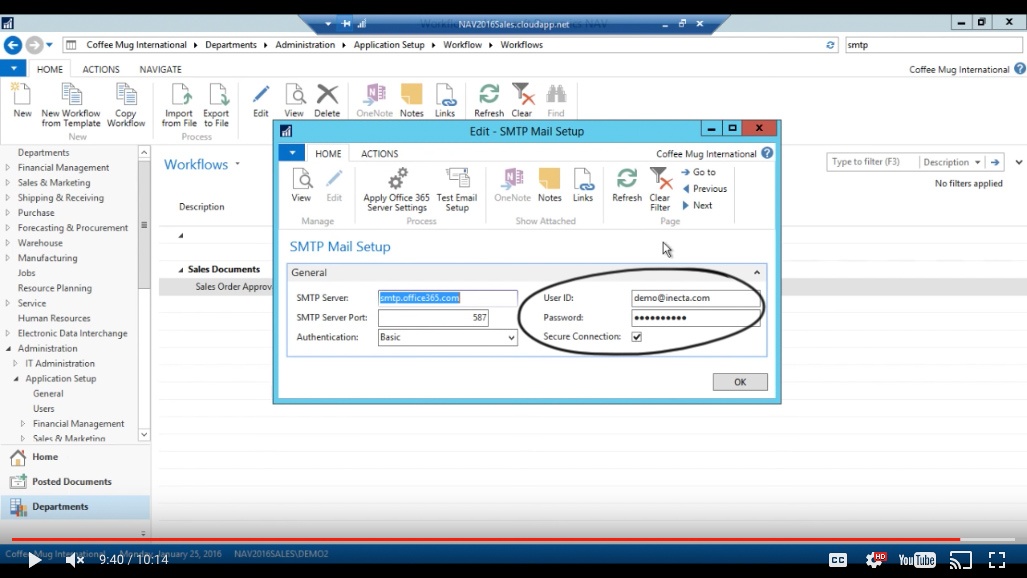
All you need to do is have a log in for a user that is delegated and make sure that it is a secure connection and then the system should be ready to go.
(Click image to view larger version)
And then your approvals should work just like I demonstrated. And that was it.
You've learned some of the many ways your business can benefit from using inecta Food. It's trusted by other businesses in your industry and can work just as well (or better) for you. inecta Food is easy to implement. It's easy on your budget with monthly subscription payments. Take the next step to ensure your food business is running the right kind of business software. Software for your food safety, increased efficiency, and stronger revenue growth.
Curious about implementation costs, training, getting a customized demo & detailed estimate, booking a discovery call?

Global Headquarters:
225 Broadway #660,
New York, NY 10007
1-800-632-0573
©2023 INECTA LLC
Global Headquarters: 179 Franklin Street, New York, NY 10013
©2020 INECTA LLC